In this developer diaries entry, I will go over my next plugin, which is an integration between Toggl Plan and Gravity Forms.
As a side note, I am looking for work. I’ve trying to focus on plugin creation and perhaps coding out some admin user interfaces for plugin authors. Please let me know if you have any leads.
Let’s dig in.
Check out the Toggl Plan + Gravity Forms Beta
What is Toggl Plan?
I’m sure most of you have heard of Toggl by now. They have a very excellent time tracking tool. But they also have two other products, one of them being Toggl Plan.
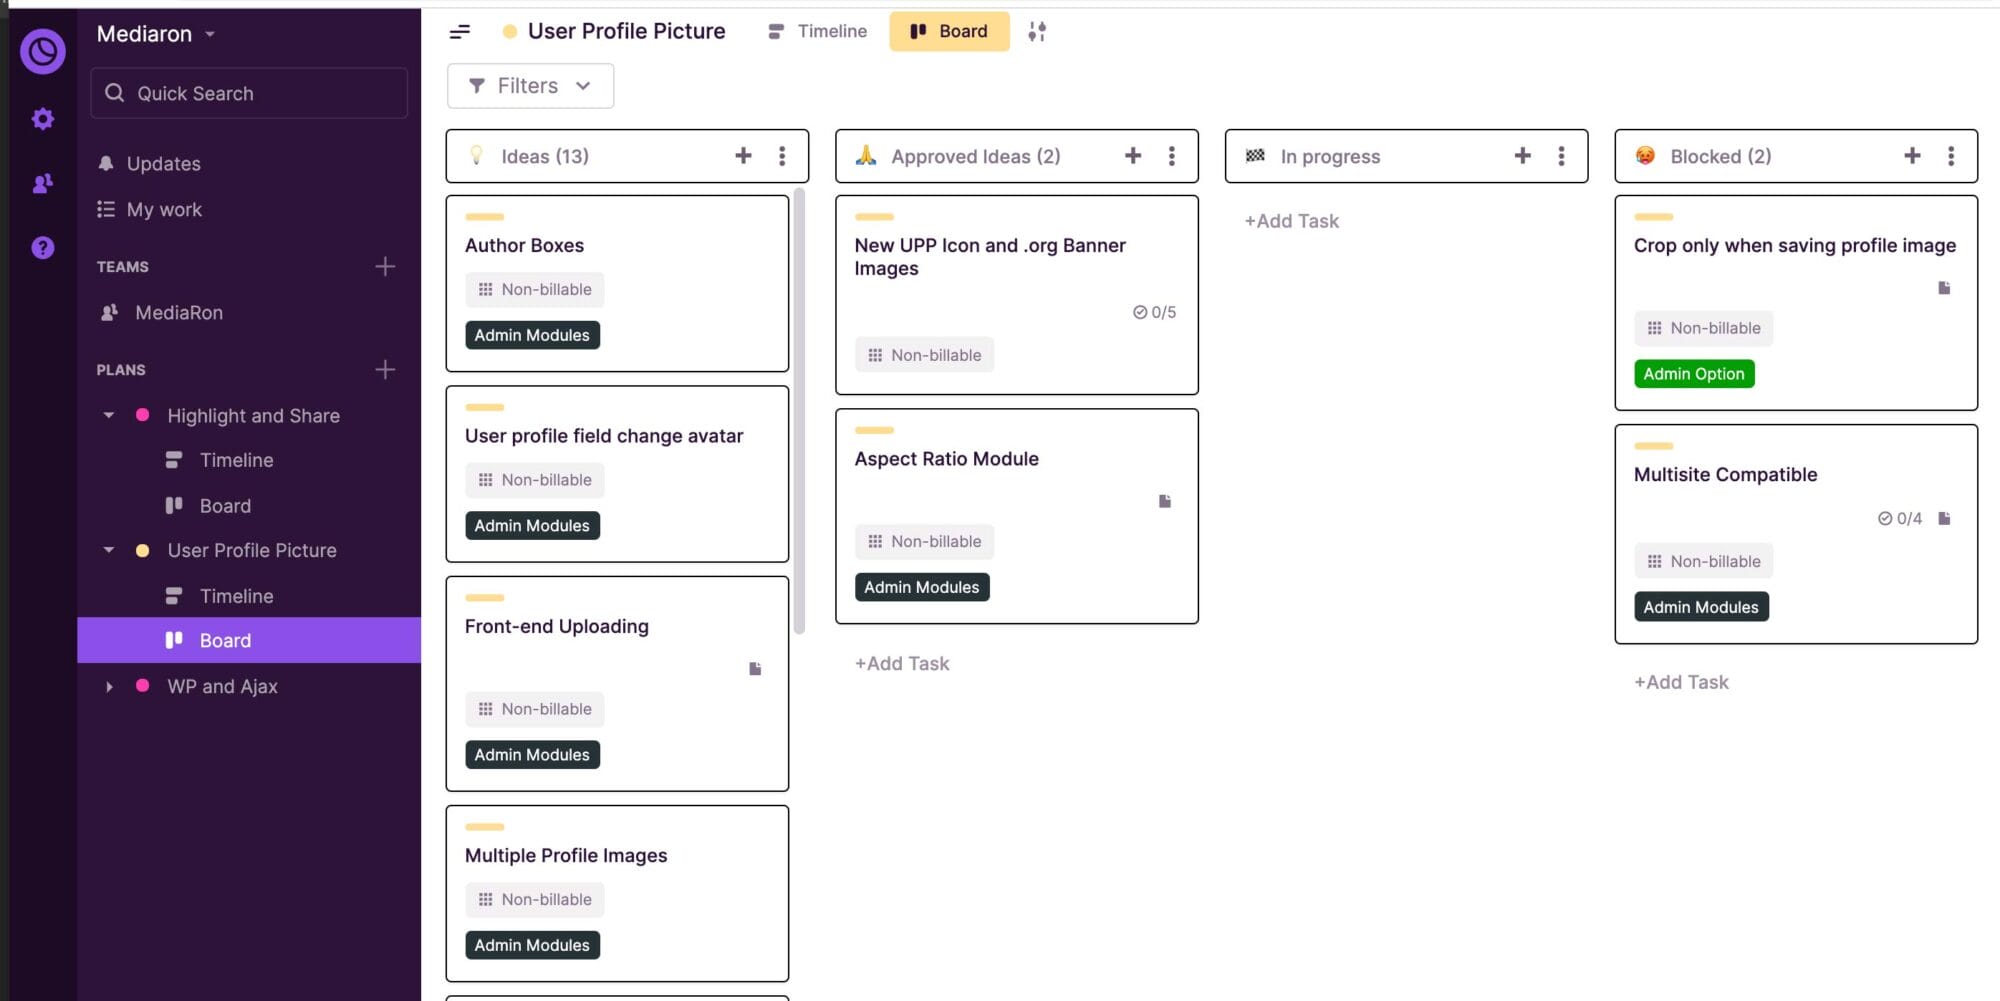
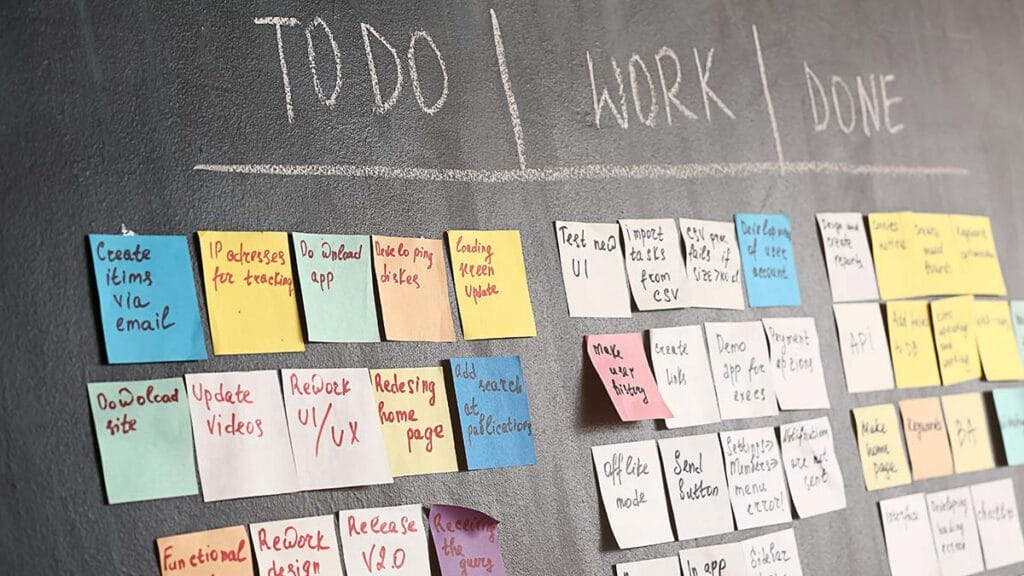
Toggl Plan reminds me of Trello, and honestly, I make use of both. The biggest benefit is that Toggl Plan offers a ton of functionality on its free plan.
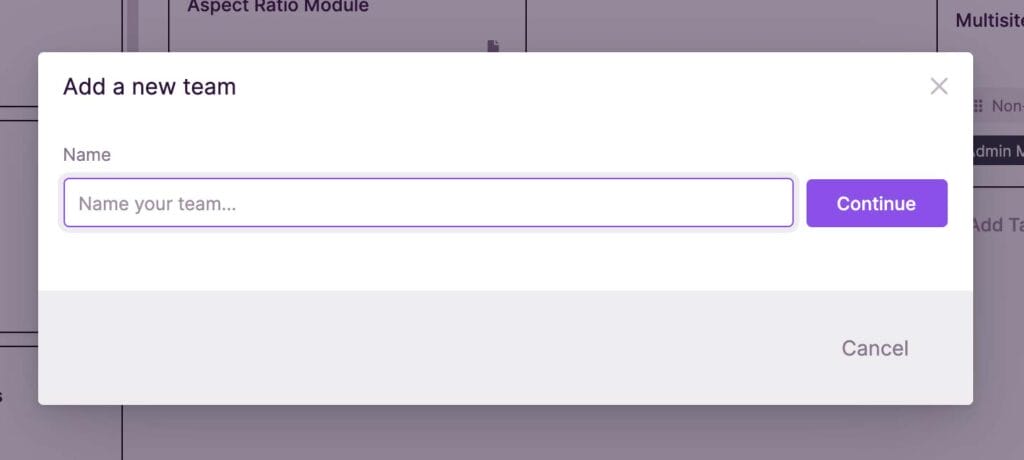
You can create multiple teams (workspaces) in the free plan. It’s extremely simple to create new teams.
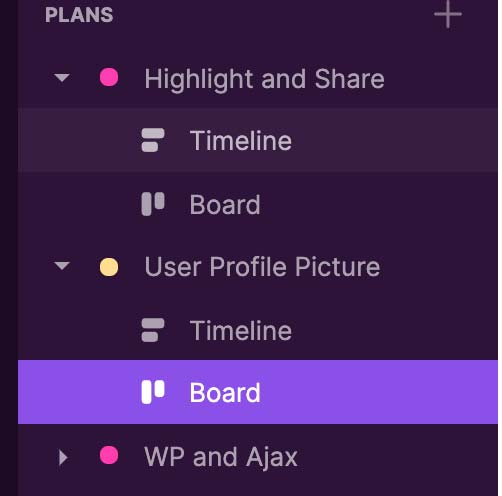
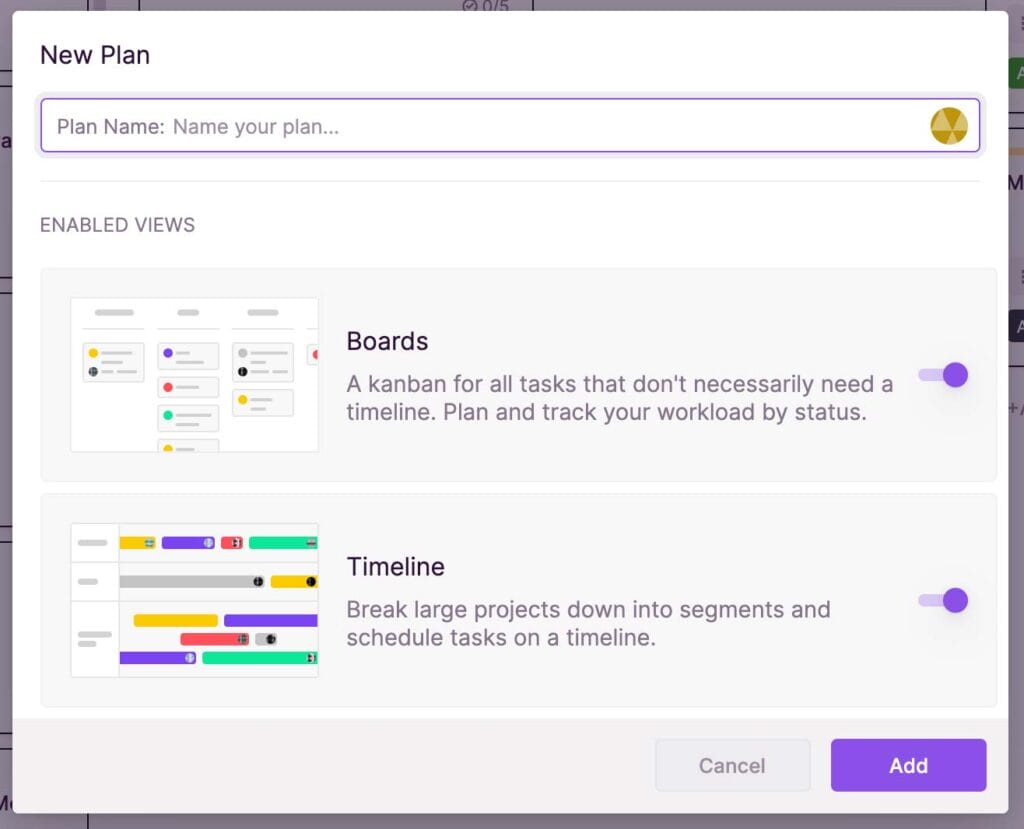
Once you have a team, you can then create projects as shown in the screenshots below.
Once you’re done with that, you can configure your Kanban board just like you do with Trello.
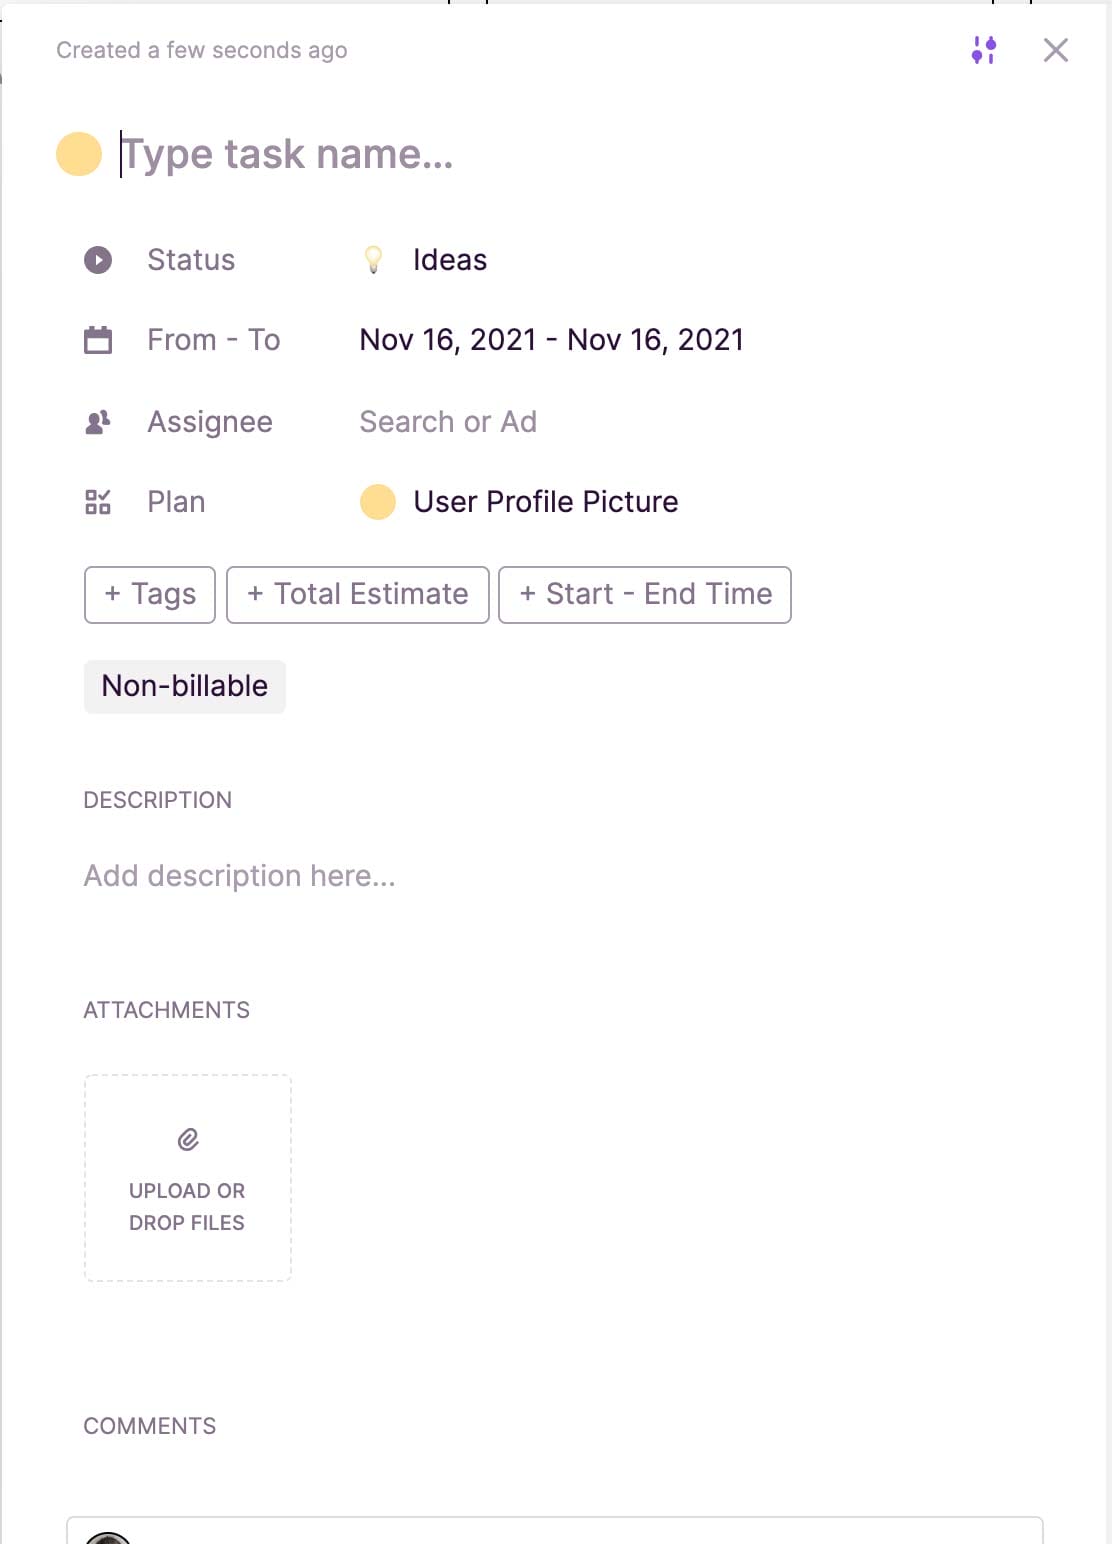
Adding a task is simple as well as shown in the screenshot below.
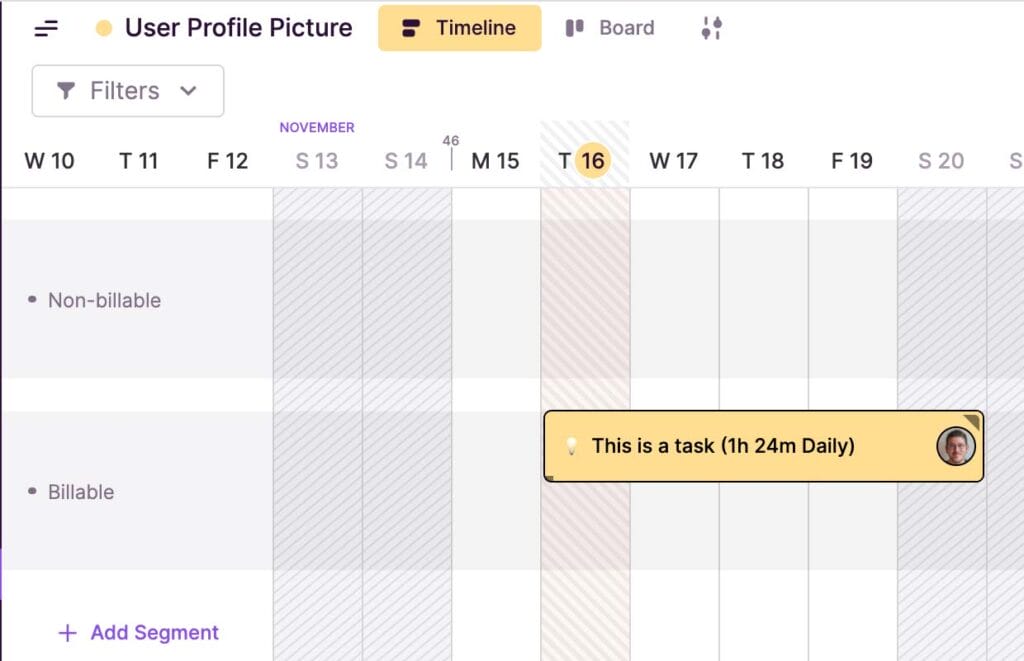
Once you have added a task, it’ll show up on your timeline.
What is Gravity Forms?
Gravity Forms, in my opinion, is the best form plugin for WordPress. It has countless integrations, and a thriving community of users and developers.
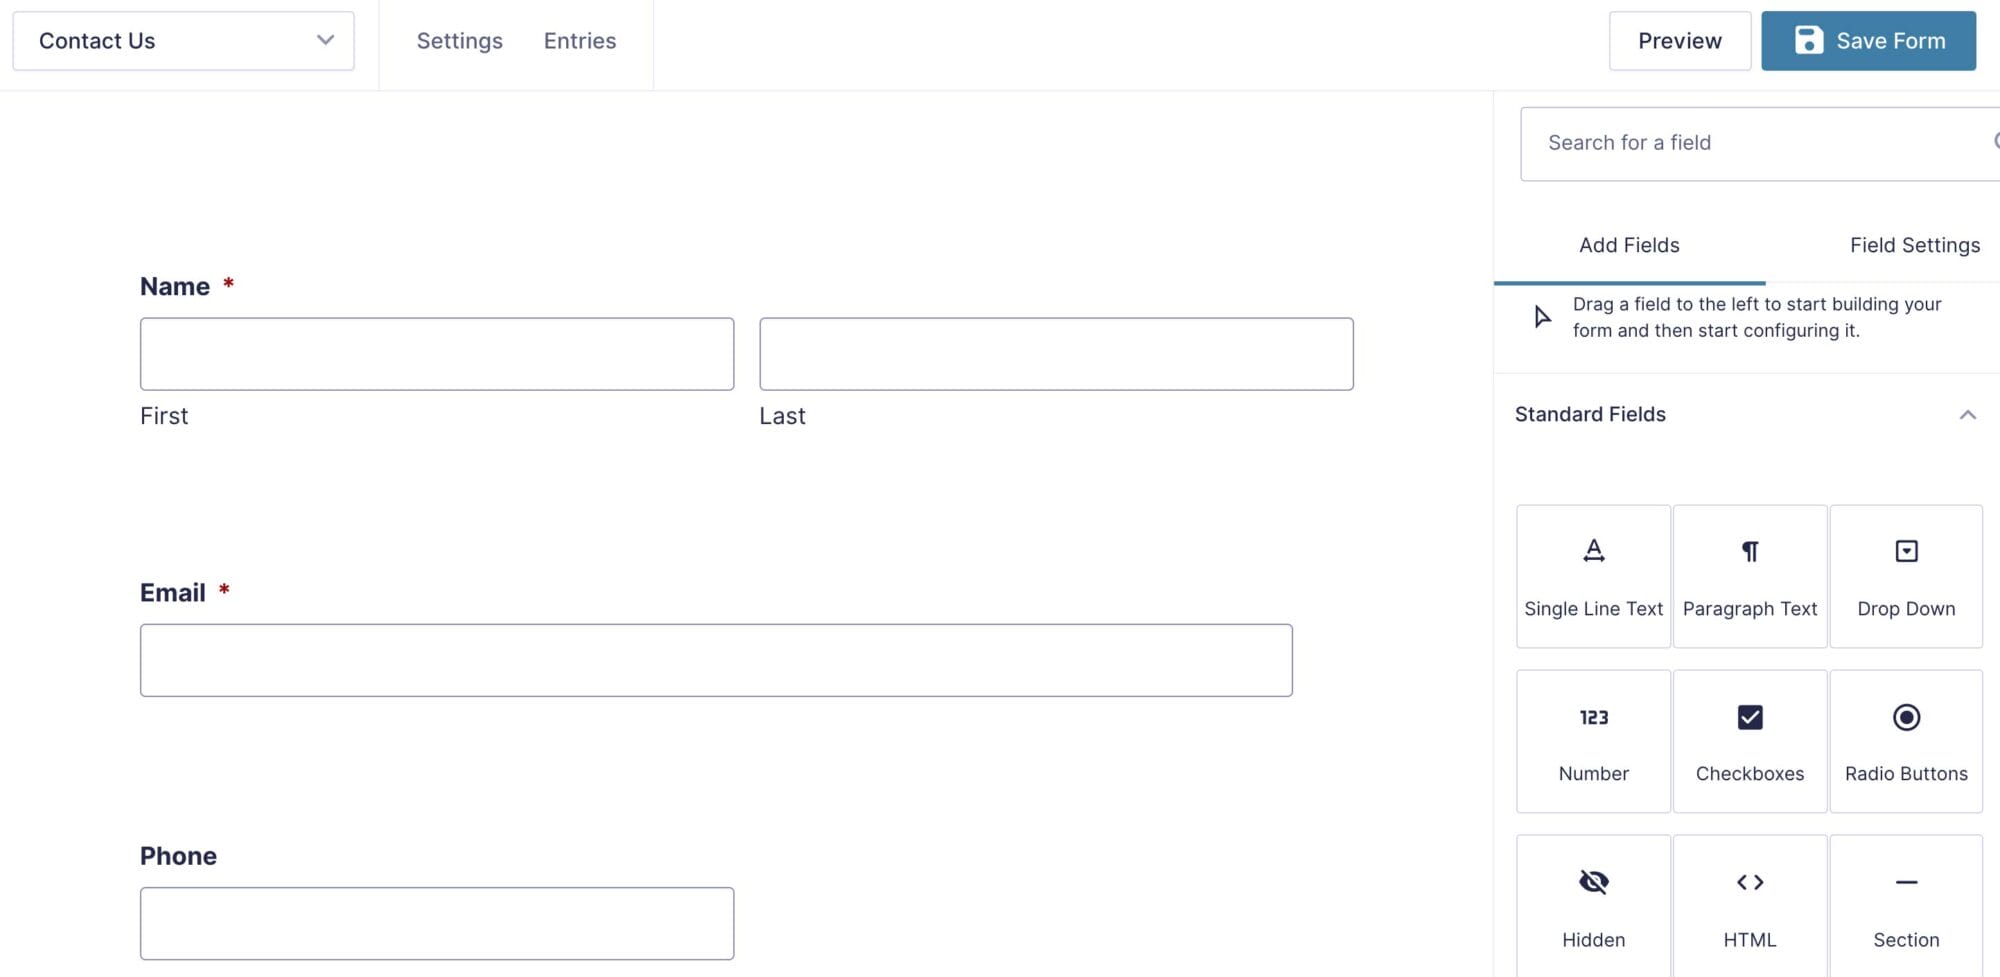
It has a very intuitive form editor, and you can set up confirmations, notifications, and feeds (I’ll go over this later) for each form. It’s very flexible.
Why Gravity Forms and Toggl Plan?
Honestly, when I found out Toggl Plan had a decent API, I wanted to integrate it into my workflow. I really like Toggl Plan and Gravity Forms, and I figured it would be nice if they talked with each other.
With Gravity Forms, I can create a support form. When someone fills the form out, I can create a Toggl Plan task based on the form entry.
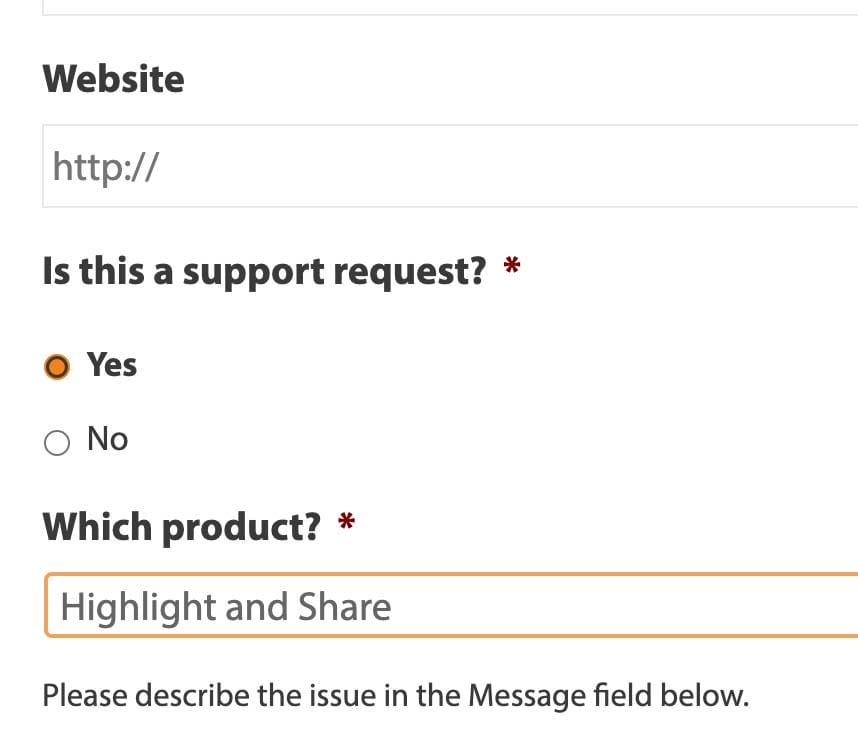
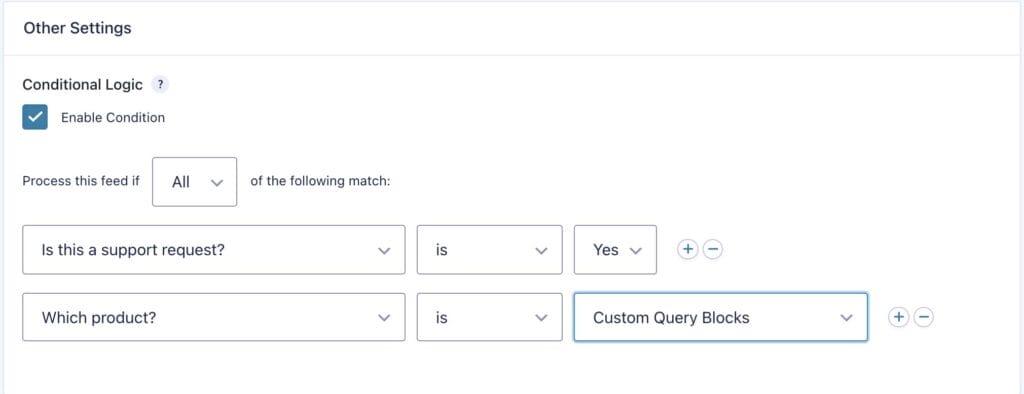
So instead of manually inputting tasks into Toggl Plan, I can use my support form to do it for me. An example of this is my contact form, which has an area for support. With the conditional logic feature of Gravity Forms, it can create a task if someone selects my support radio button.
The workflow is powerful.
- Create a support form
- Integrate with Toggl Plan via Gravity Forms settings
- Set up a feed in Gravity Forms
- Create the Toggl Plan task when someone submits the form
- (Bonus) – Use conditional logic to determine when to create a task
What is a Gravity Forms feed?
The Gravity Forms documentation does a great job of explaining what feeds are.
A feed is like a notification that communicates information to an add-on or to an external service that the add-on integrates with, each time a visitor successfully submits your form.
Whereas a notification will fire an email off to a destination of your choice each time a Gravity Forms submission is completed, a “feed” is set-up within an add-on in order to define the way your form will notify the add-on (and potentially an external service) of a submission.
Gravity Forms Documentation on Feeds
So what does that mean in English?
Think of a feed as an action that takes place when someone submits your form.
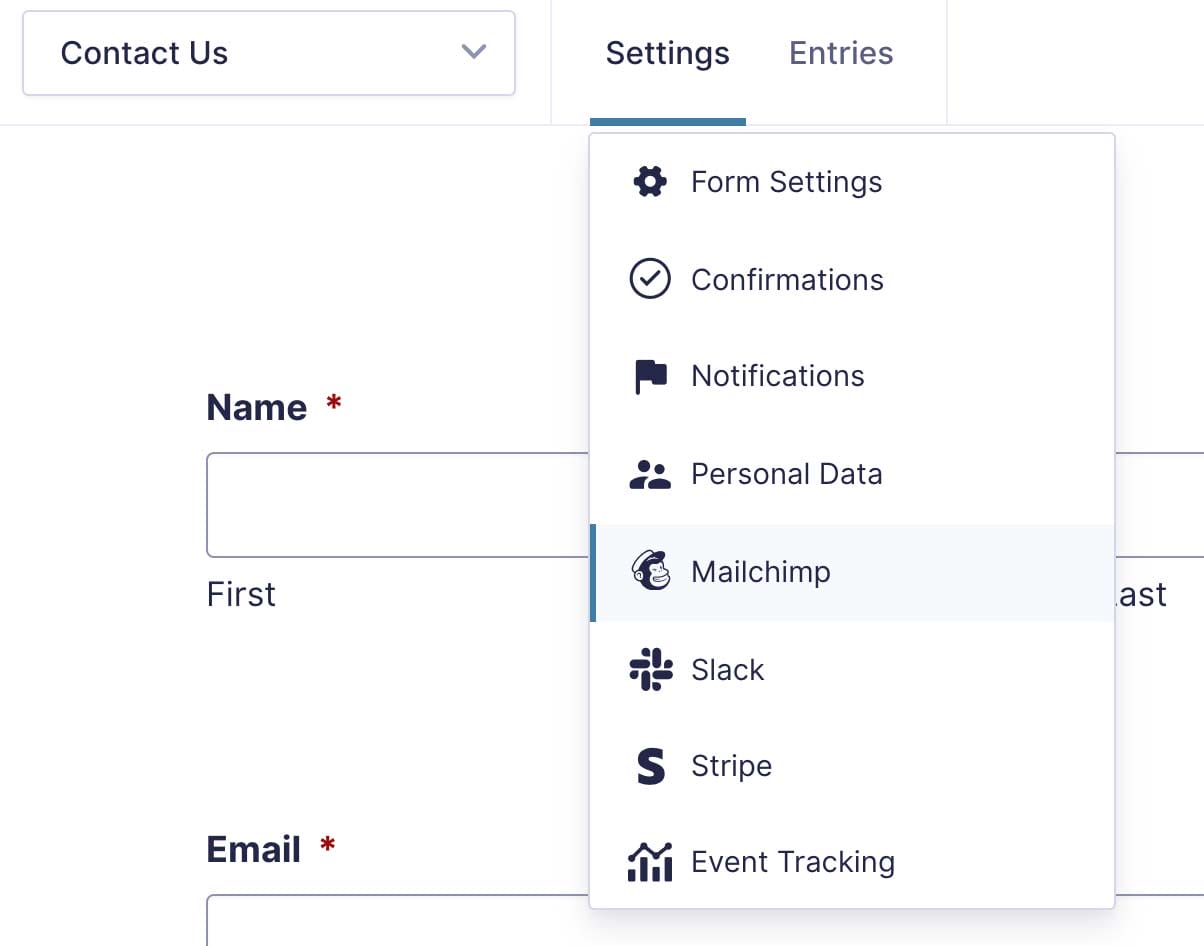
Each add-on that supports feeds will show up in your form settings as shown in the screenshot below.
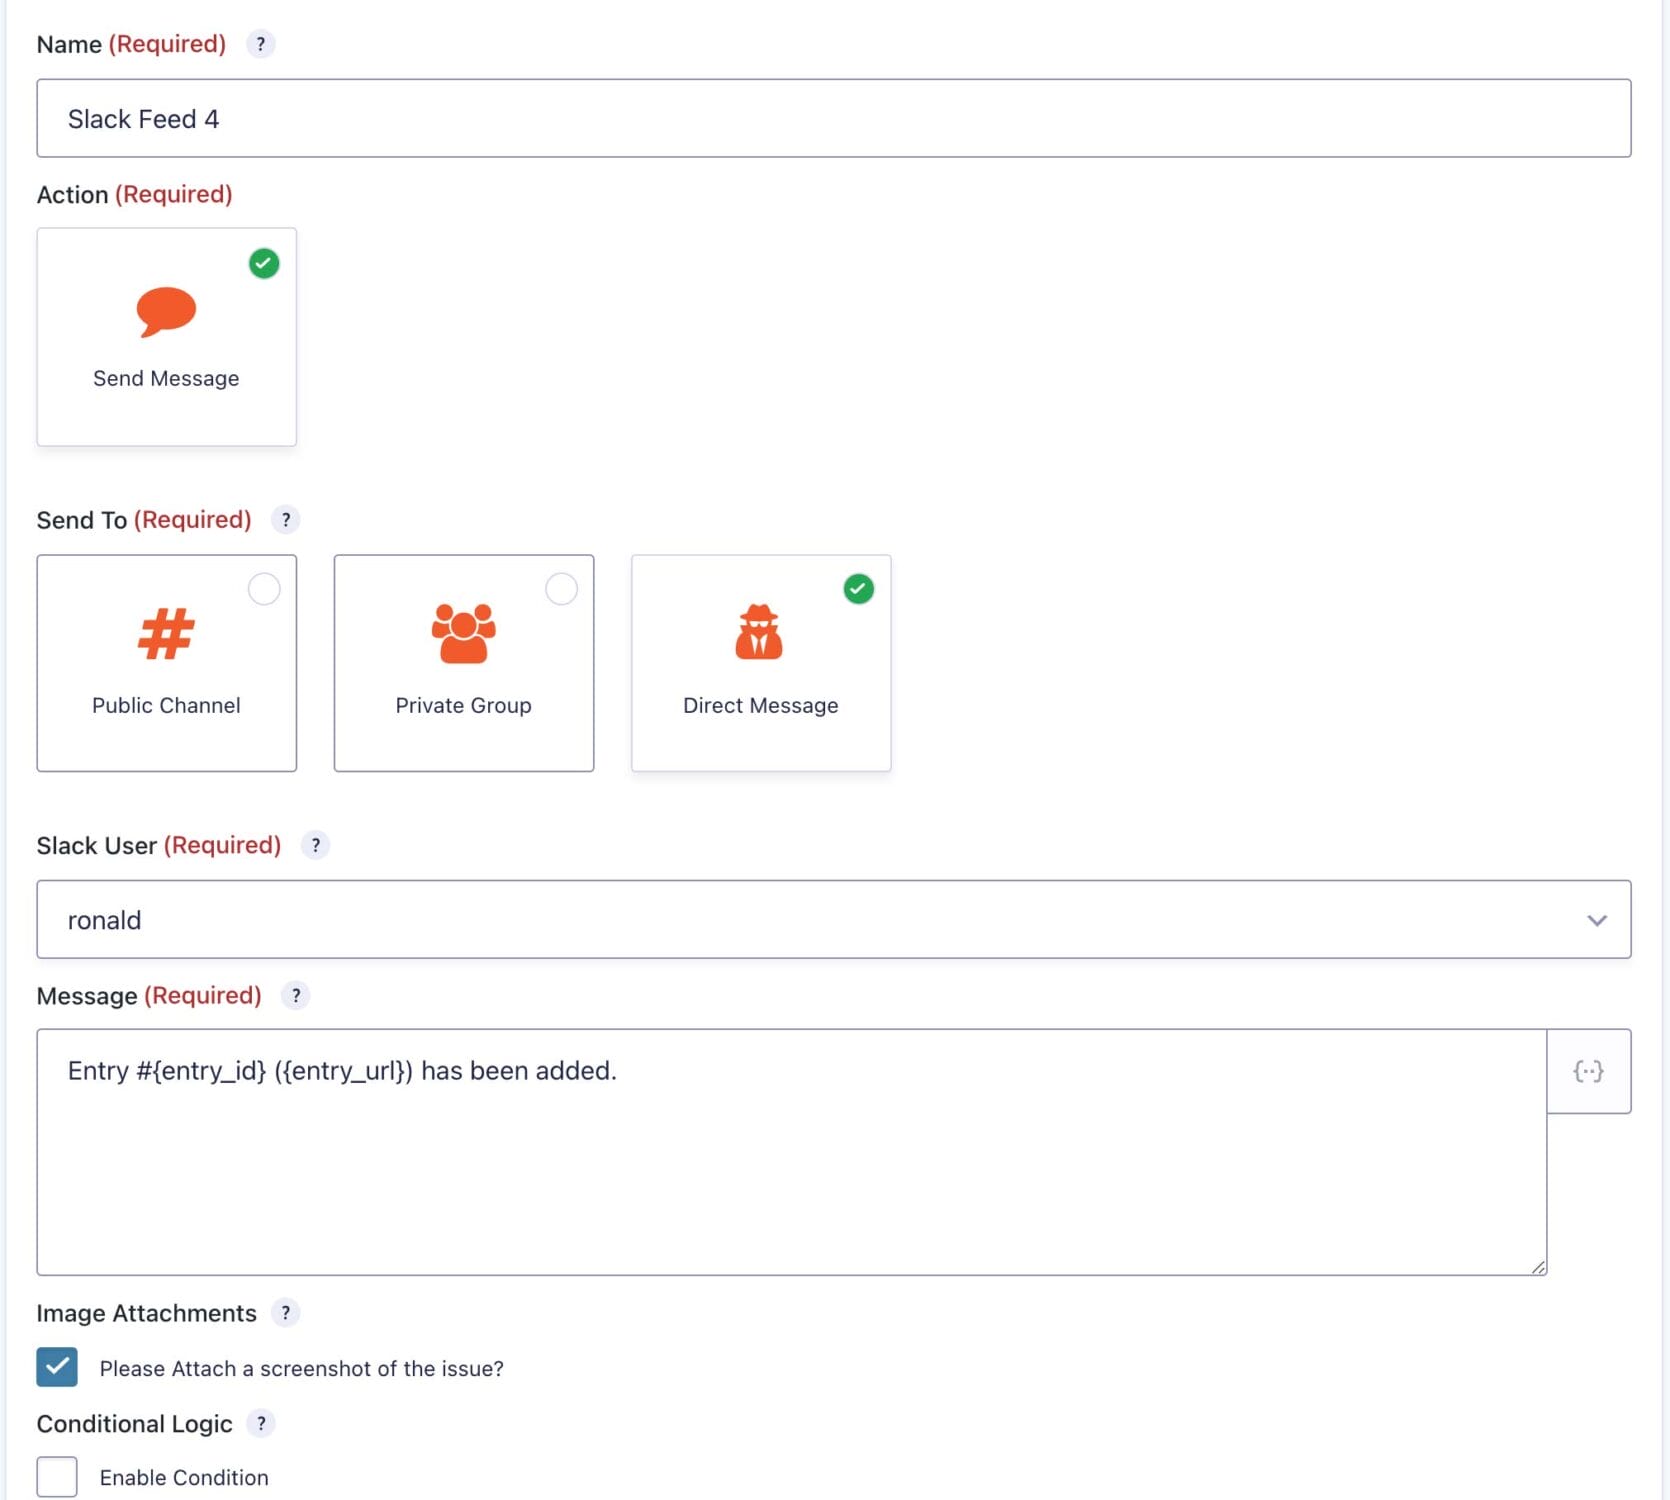
If I select Slack, for example, I can create an action (feed) that will run when someone has completed a form. For example, I have set up a Slack feed to DM me anytime someone completes a form.
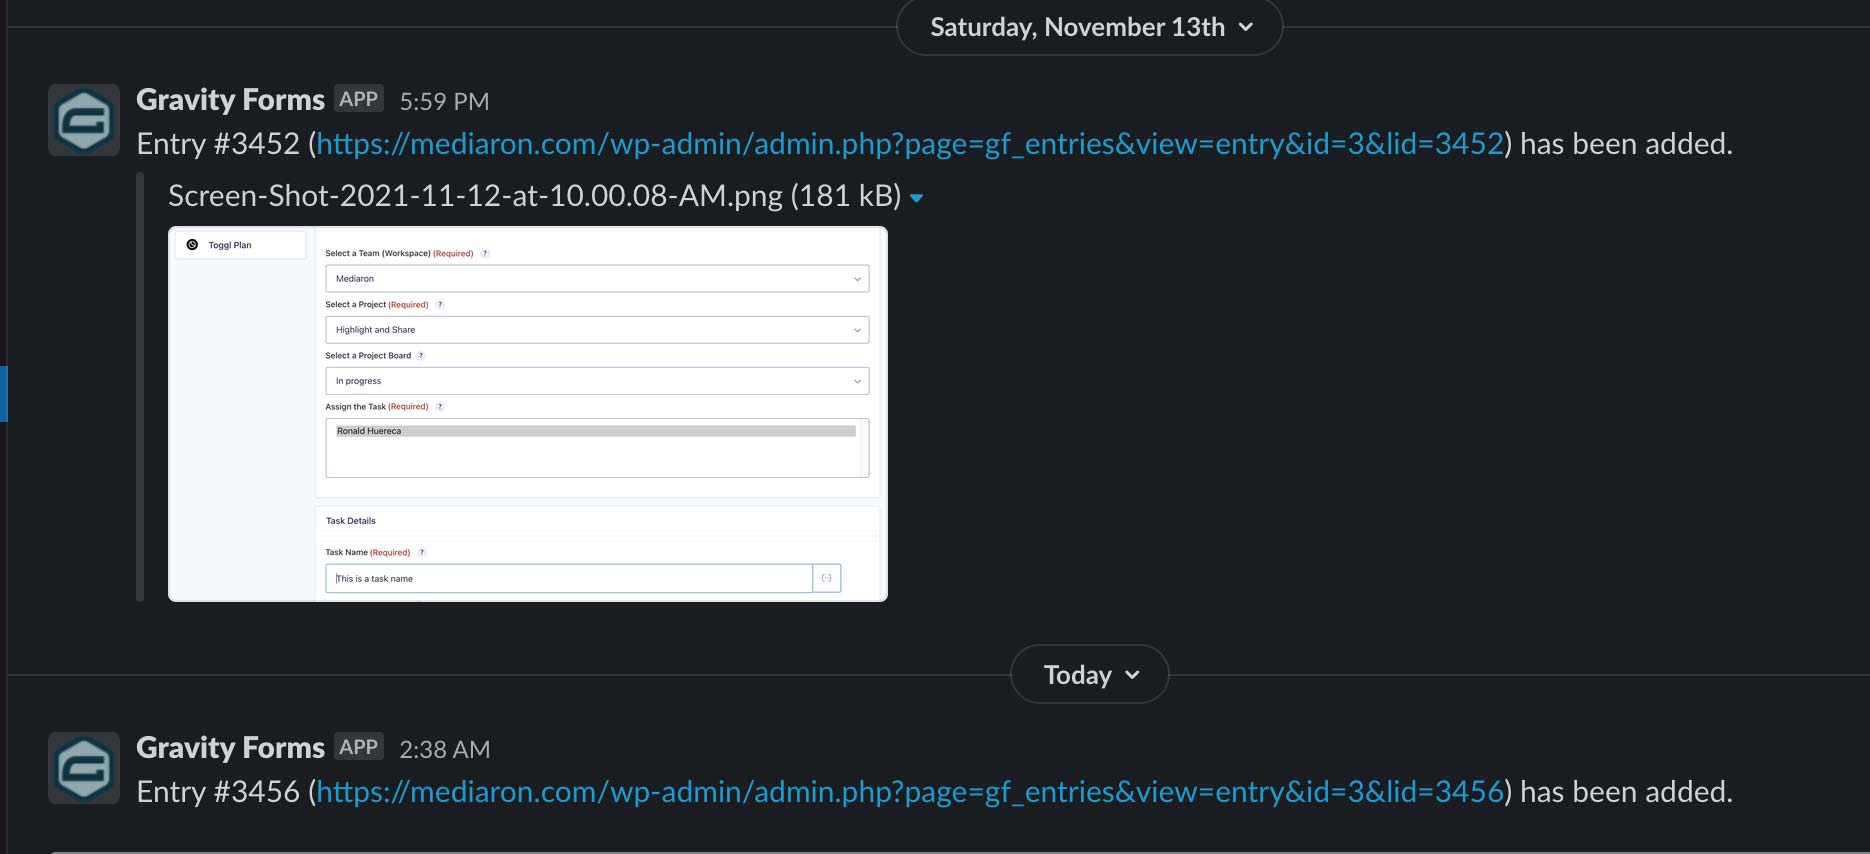
And the result is a DM in slack.
Now that we have feeds taken care of, let’s move onto the meat of this developer diaries entry.
Gravity Forms Add-on Approach
I created the add-on based on a boilerplate, which helped me set up the settings screen and feed screen almost effortlessly.
However, I chose to go a different route when setting up the options on my add-on’s settings screen.
The Gravity Forms field API is clean and robust. However, the UI I had planned for it wouldn’t work very well as a user would have to select multiple options to drill down to the correct setting.
I wanted to avoid screen refreshes, so I decided to built my own settings screen from scratch while matching the Gravity Forms 2.5+ interface.
My plan was a JavaScript-based interface, and since it was going to be JS heavy, I decided to use React to make things a bit simpler to develop.
With the idea and plan in place, I could begin building out the UI.
Toggl Plan Settings Initialization
To create the React interface, I needed a placeholder. Fortunately the Gravity Forms add-on framework allows you to override the settings screen with the plugin_settings method override in your add-on. I then call some placeholders to output a div that React can target.
if ( 'wizard' === $context ) {
	$this->settings_react_wizard();
} elseif ( rgget( 'action' ) === 'toggl' && rgget( 'state' ) && $code && ! $errors ) {
	$this->settings_auth_interface( $state, $code );
} else {
	$this->settings_main_interface();
}Code language: PHP (php)
An example of one of my methods is below:
/**
 * Set the React container on the settings screen for the wizard.
 *
 * @since  1.0.0
 */
public function settings_react_wizard() {
	ob_start();
	?>
	<div id="gforms_toggl_wizard"></div>
	<?php
	echo wp_kses_post( ob_get_clean() );
}Code language: PHP (php)
From there, I can enqueue my JavaScript on the wizard page and React can target the div to begin the output.
The Wizard
I decided on a wizard to walk the user through setting up the Toggl Plan integration. The first steps of the wizard are basic questions.
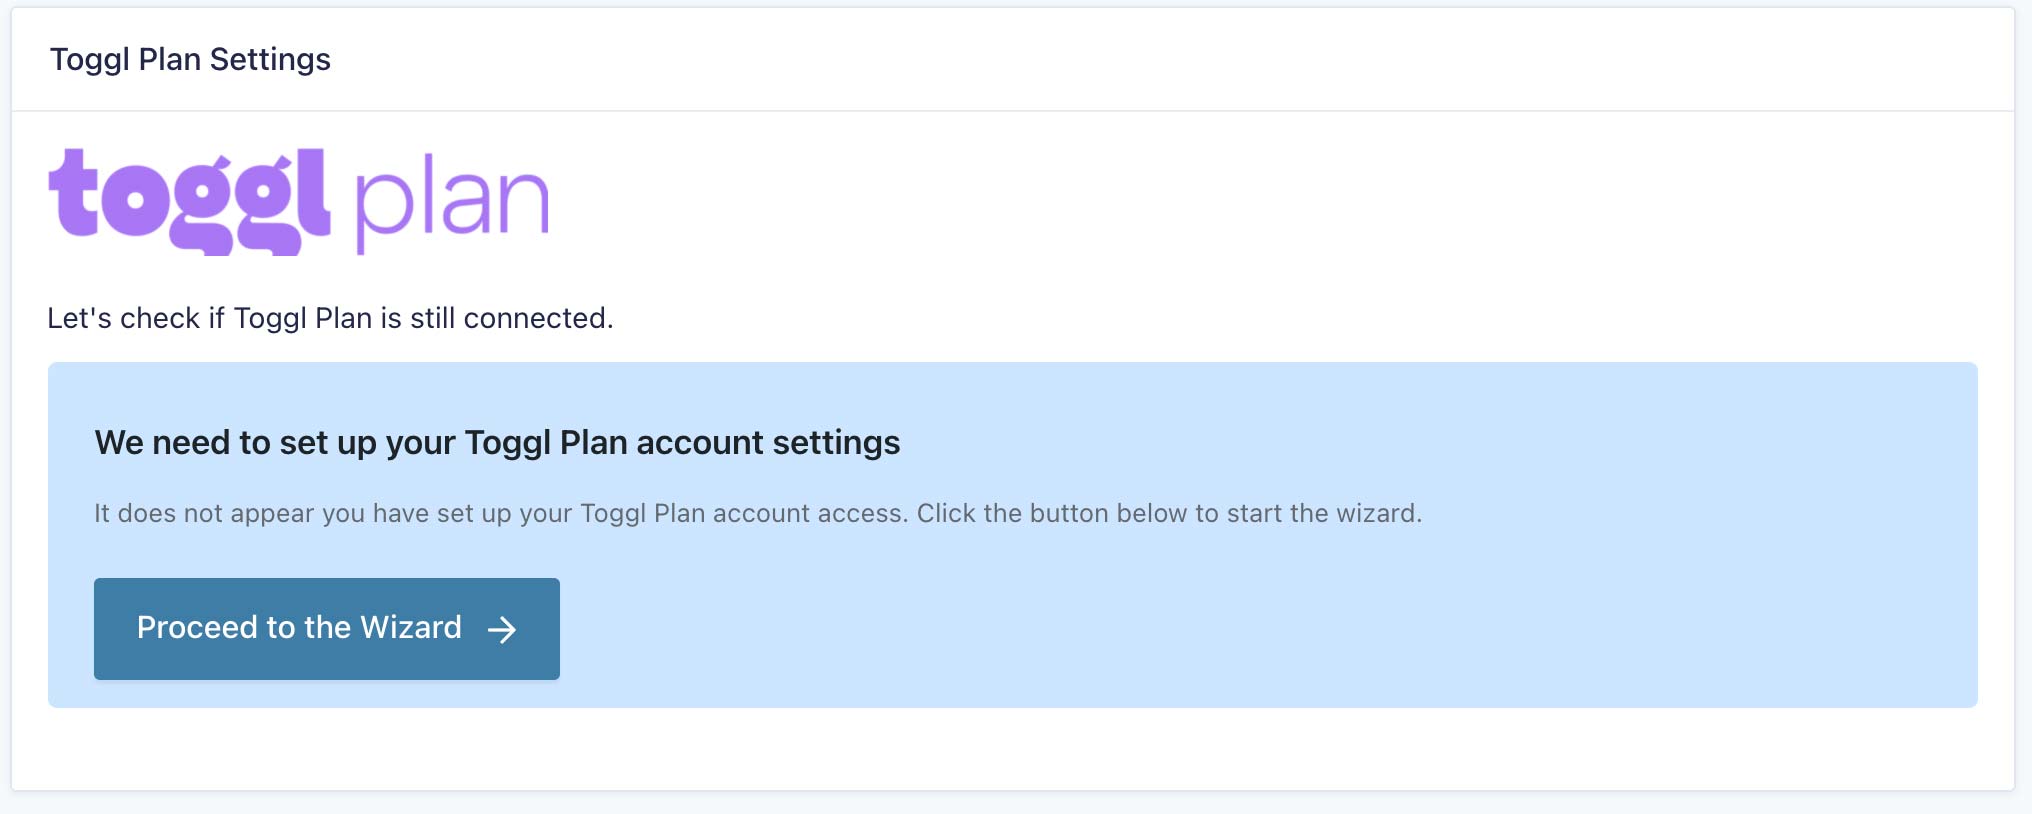
I first check on the main settings screen if there is a Toggl connection. If not, it prompts you to start the wizard.
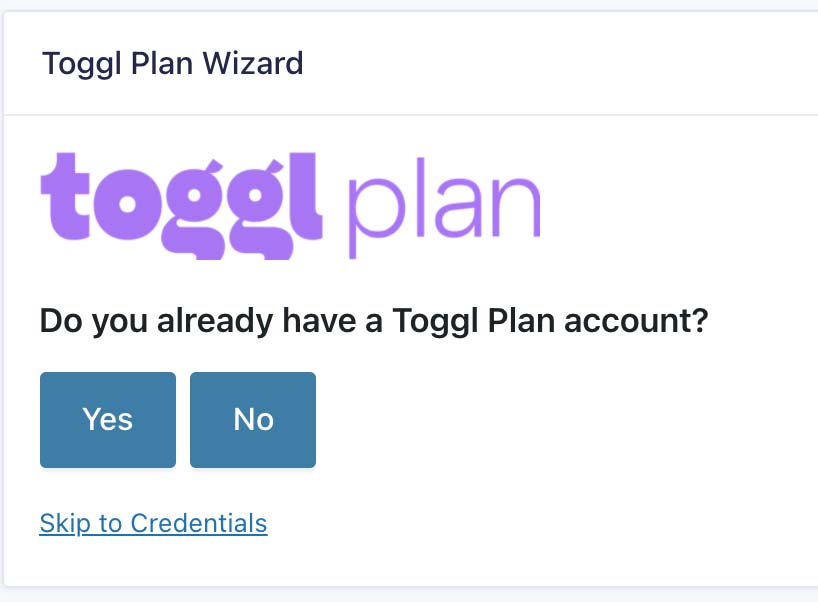
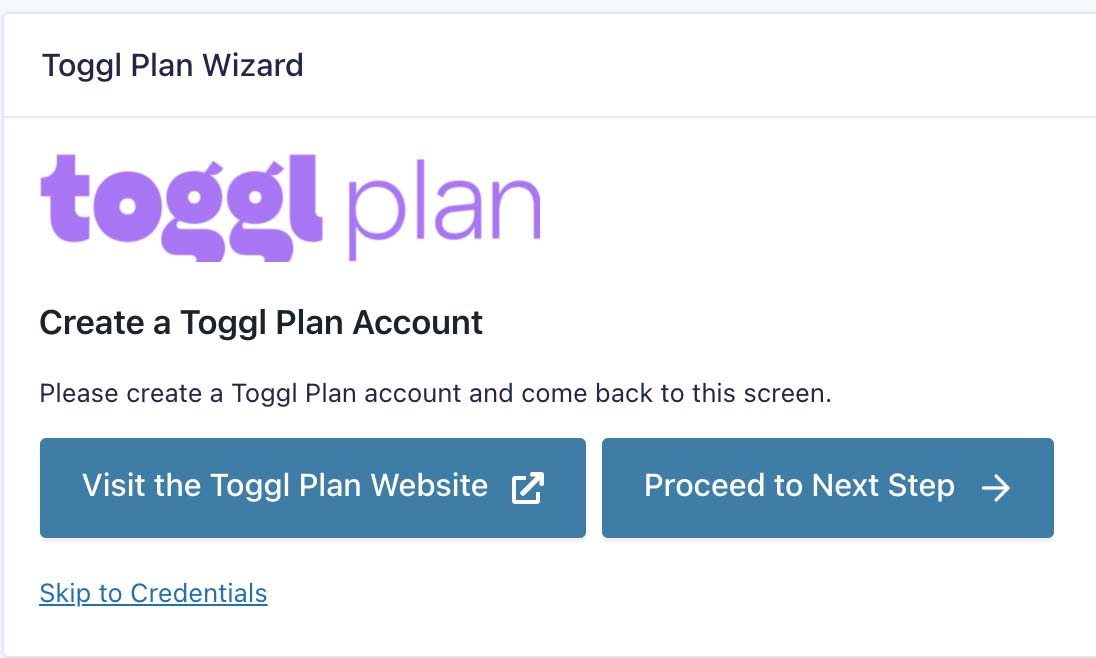
The first step in the Wizard simply asks if the user has a Toggl Plan account. If not, it prompts the user to create a Toggl Plan account. I have a handy “Skip to Credentials” if you already have Toggl setup.
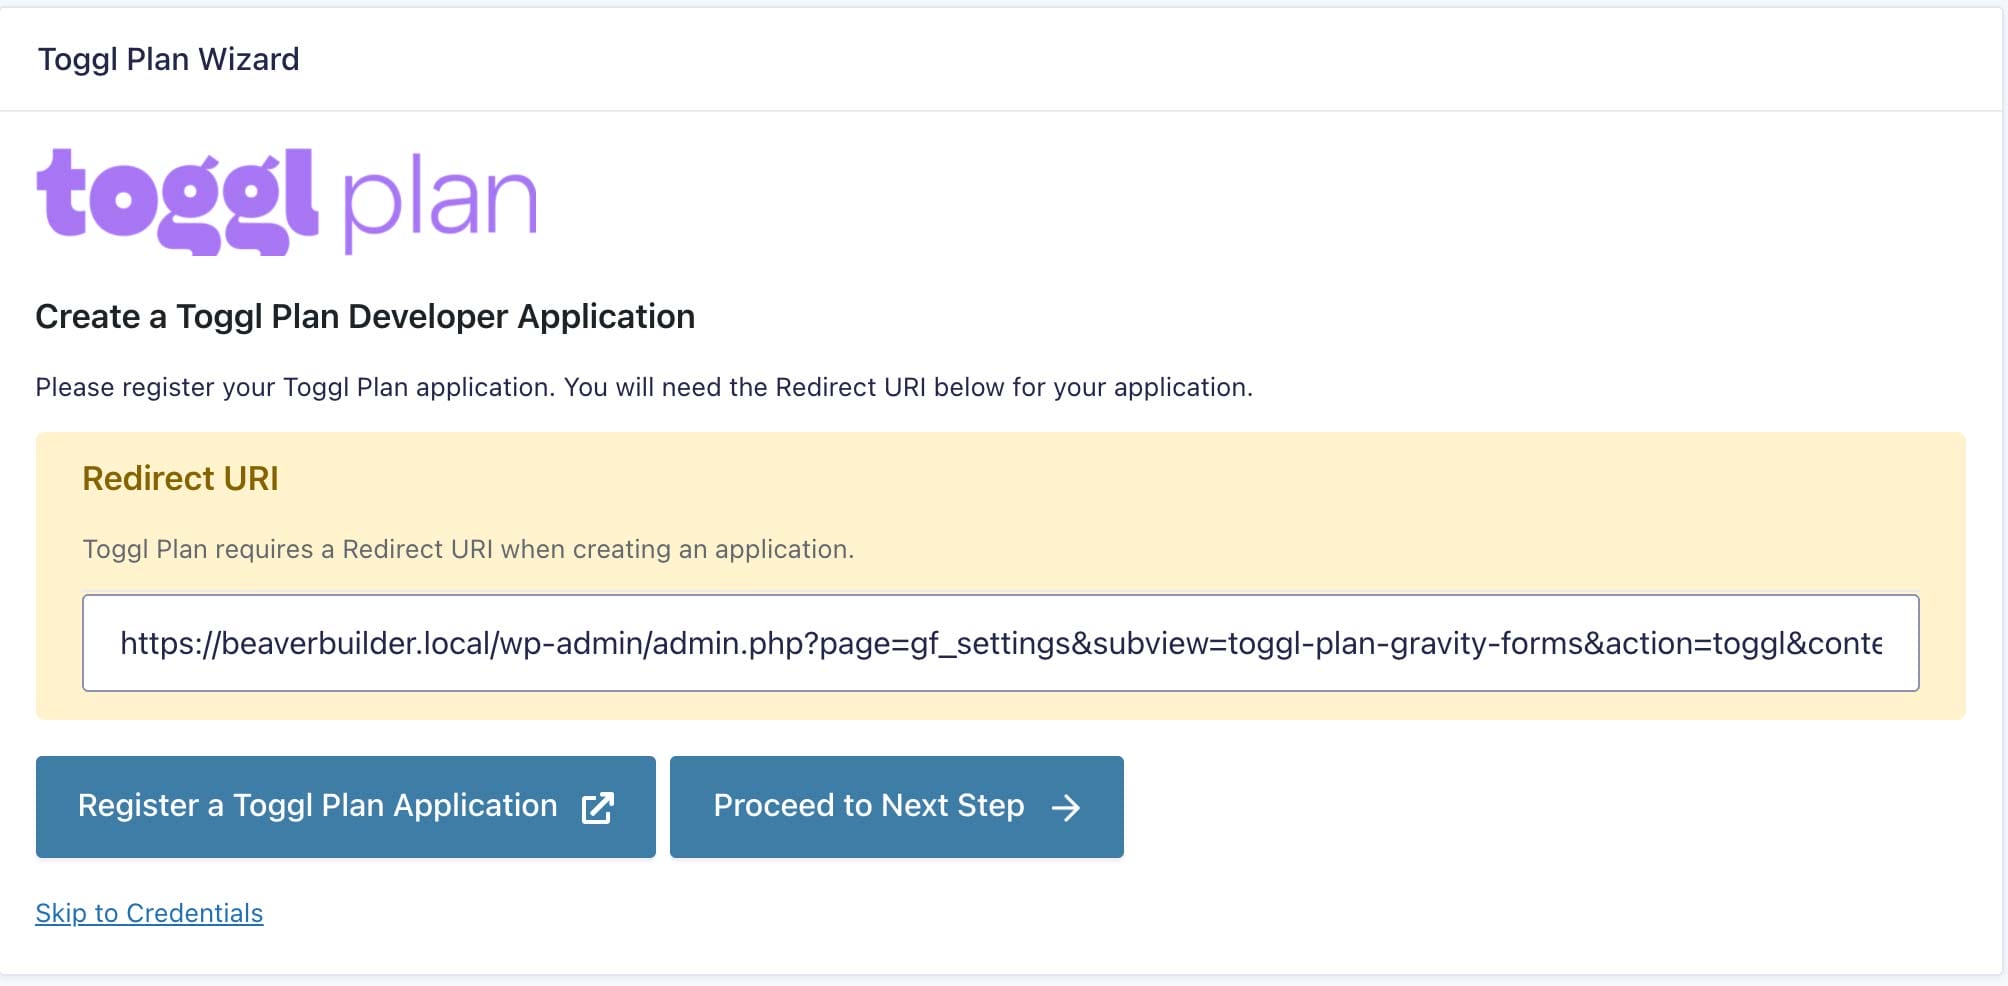
The next step asks if the user has registered an application, which will allow access to the Toggl API.
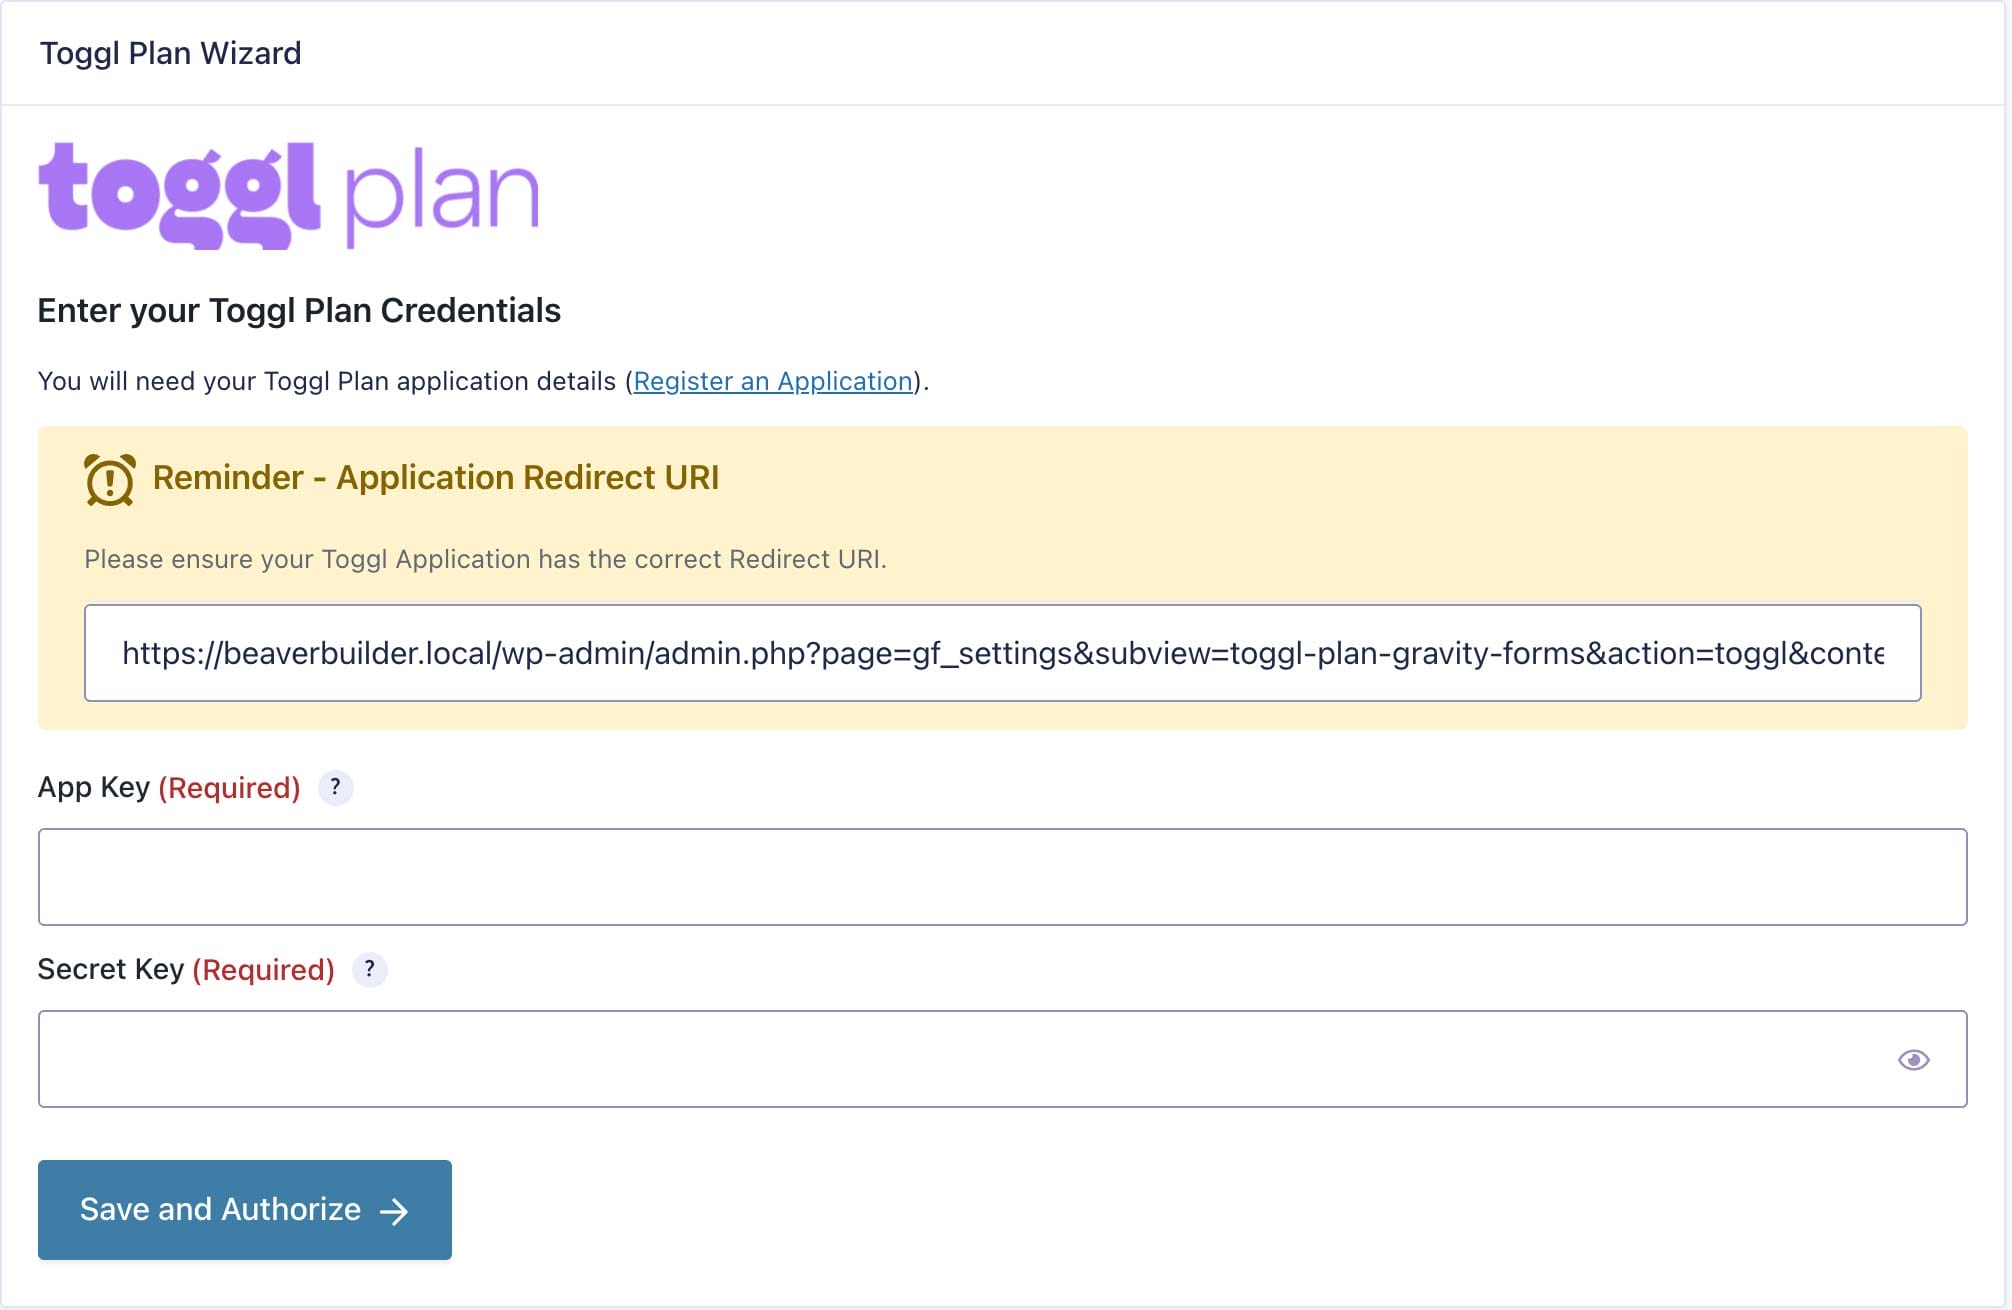
Finally, the last step is to enter the Toggl Plan application settings.
I include a reminder with the redirect URL, and have a shortcut to create an application in case the user skipped Step Three.
One both keys are entered, you’re shipped off to the Toggl Plan website where you can grant permission so that Gravity Forms can talk to the Toggl Plan API.
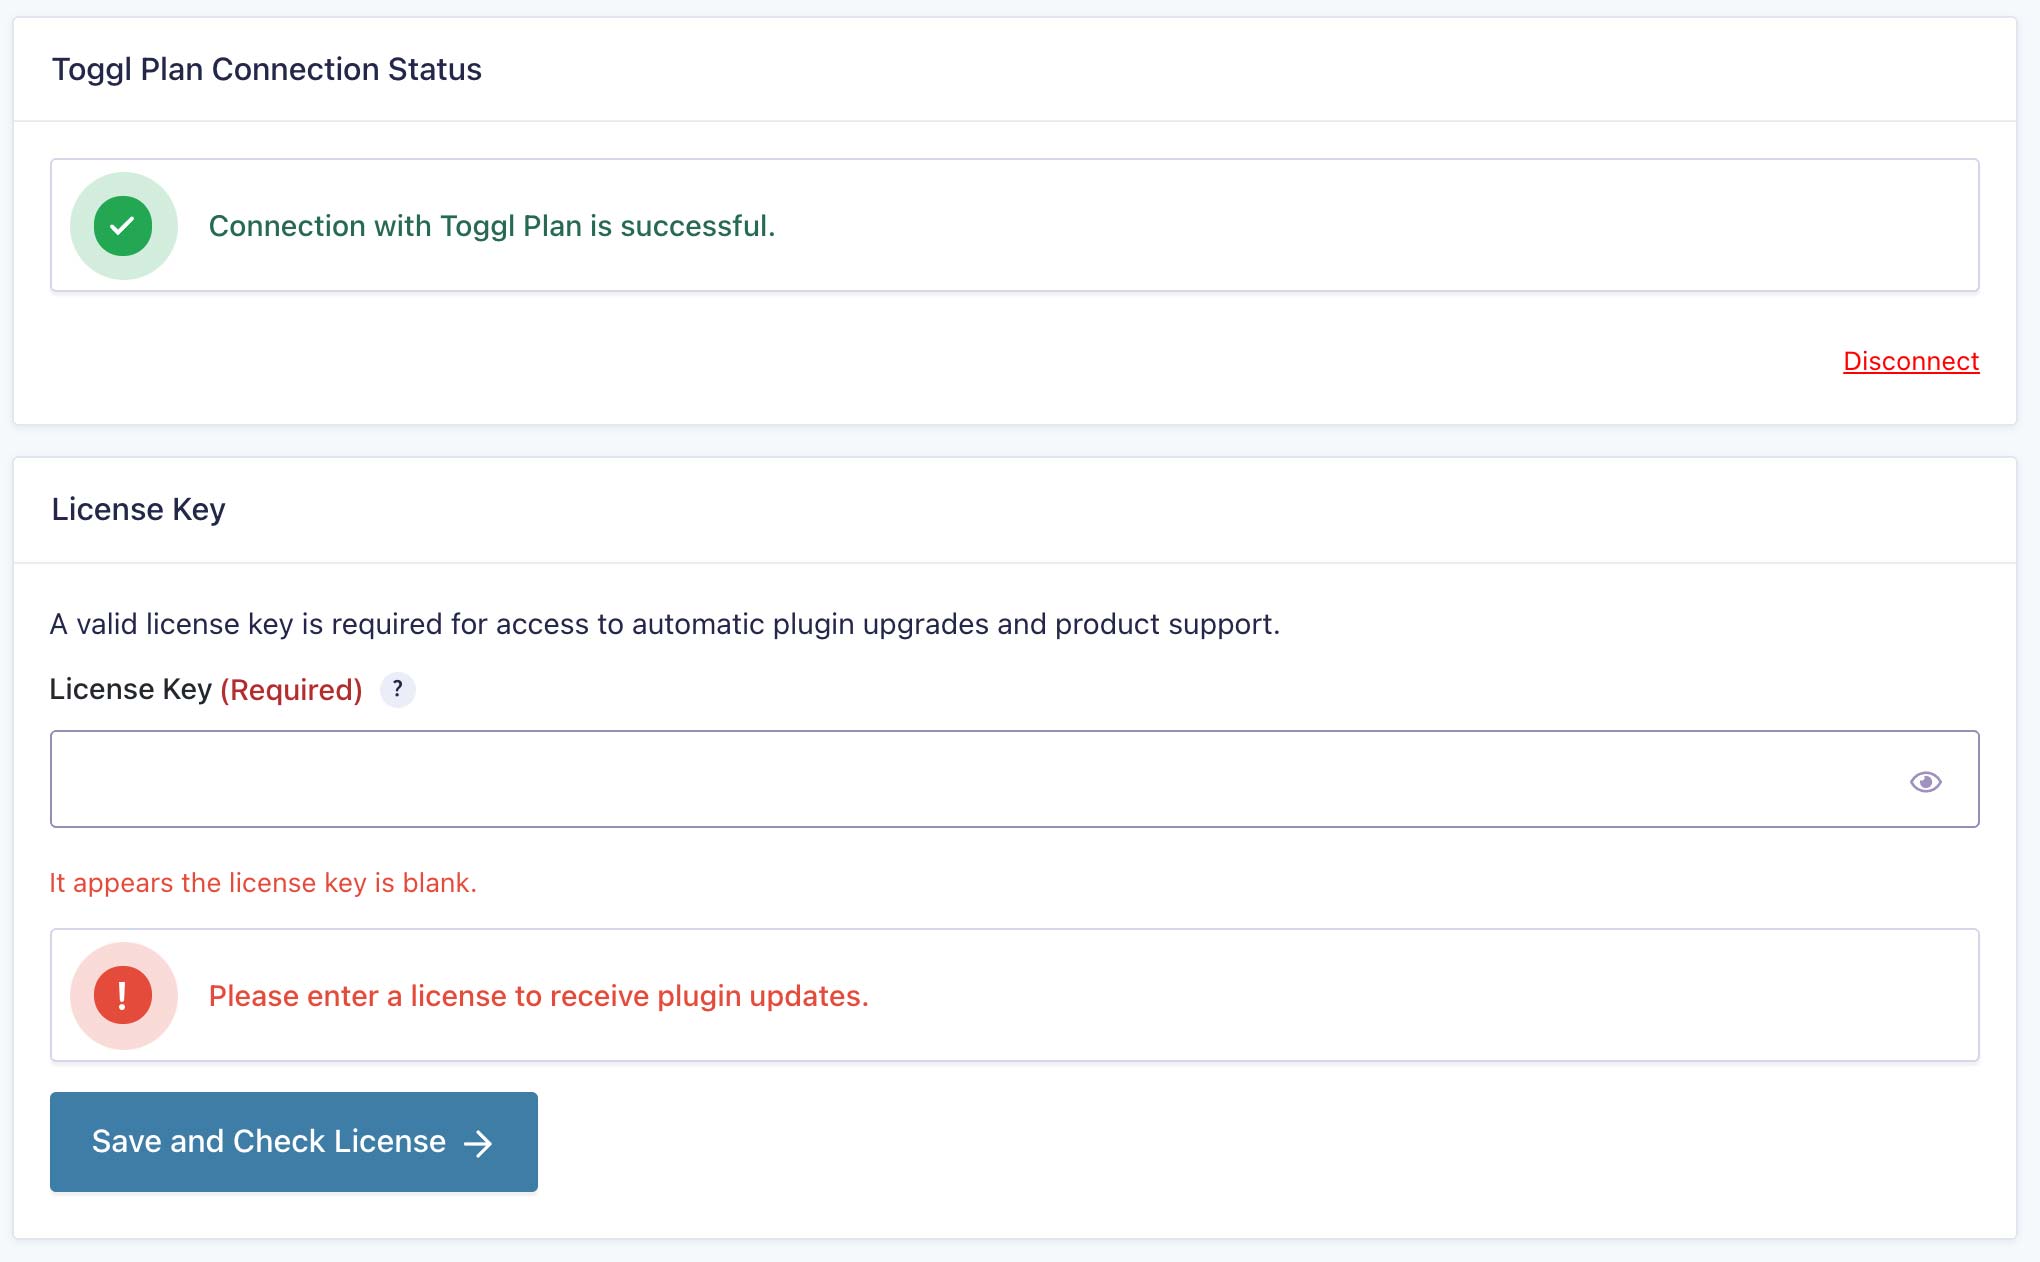
Once the permissions are granted, you’re redirected back to the WordPress install, where it checks if the connection is successful.
I then show a status and prompt the user for the license key for the plugin so the user can receive updates.
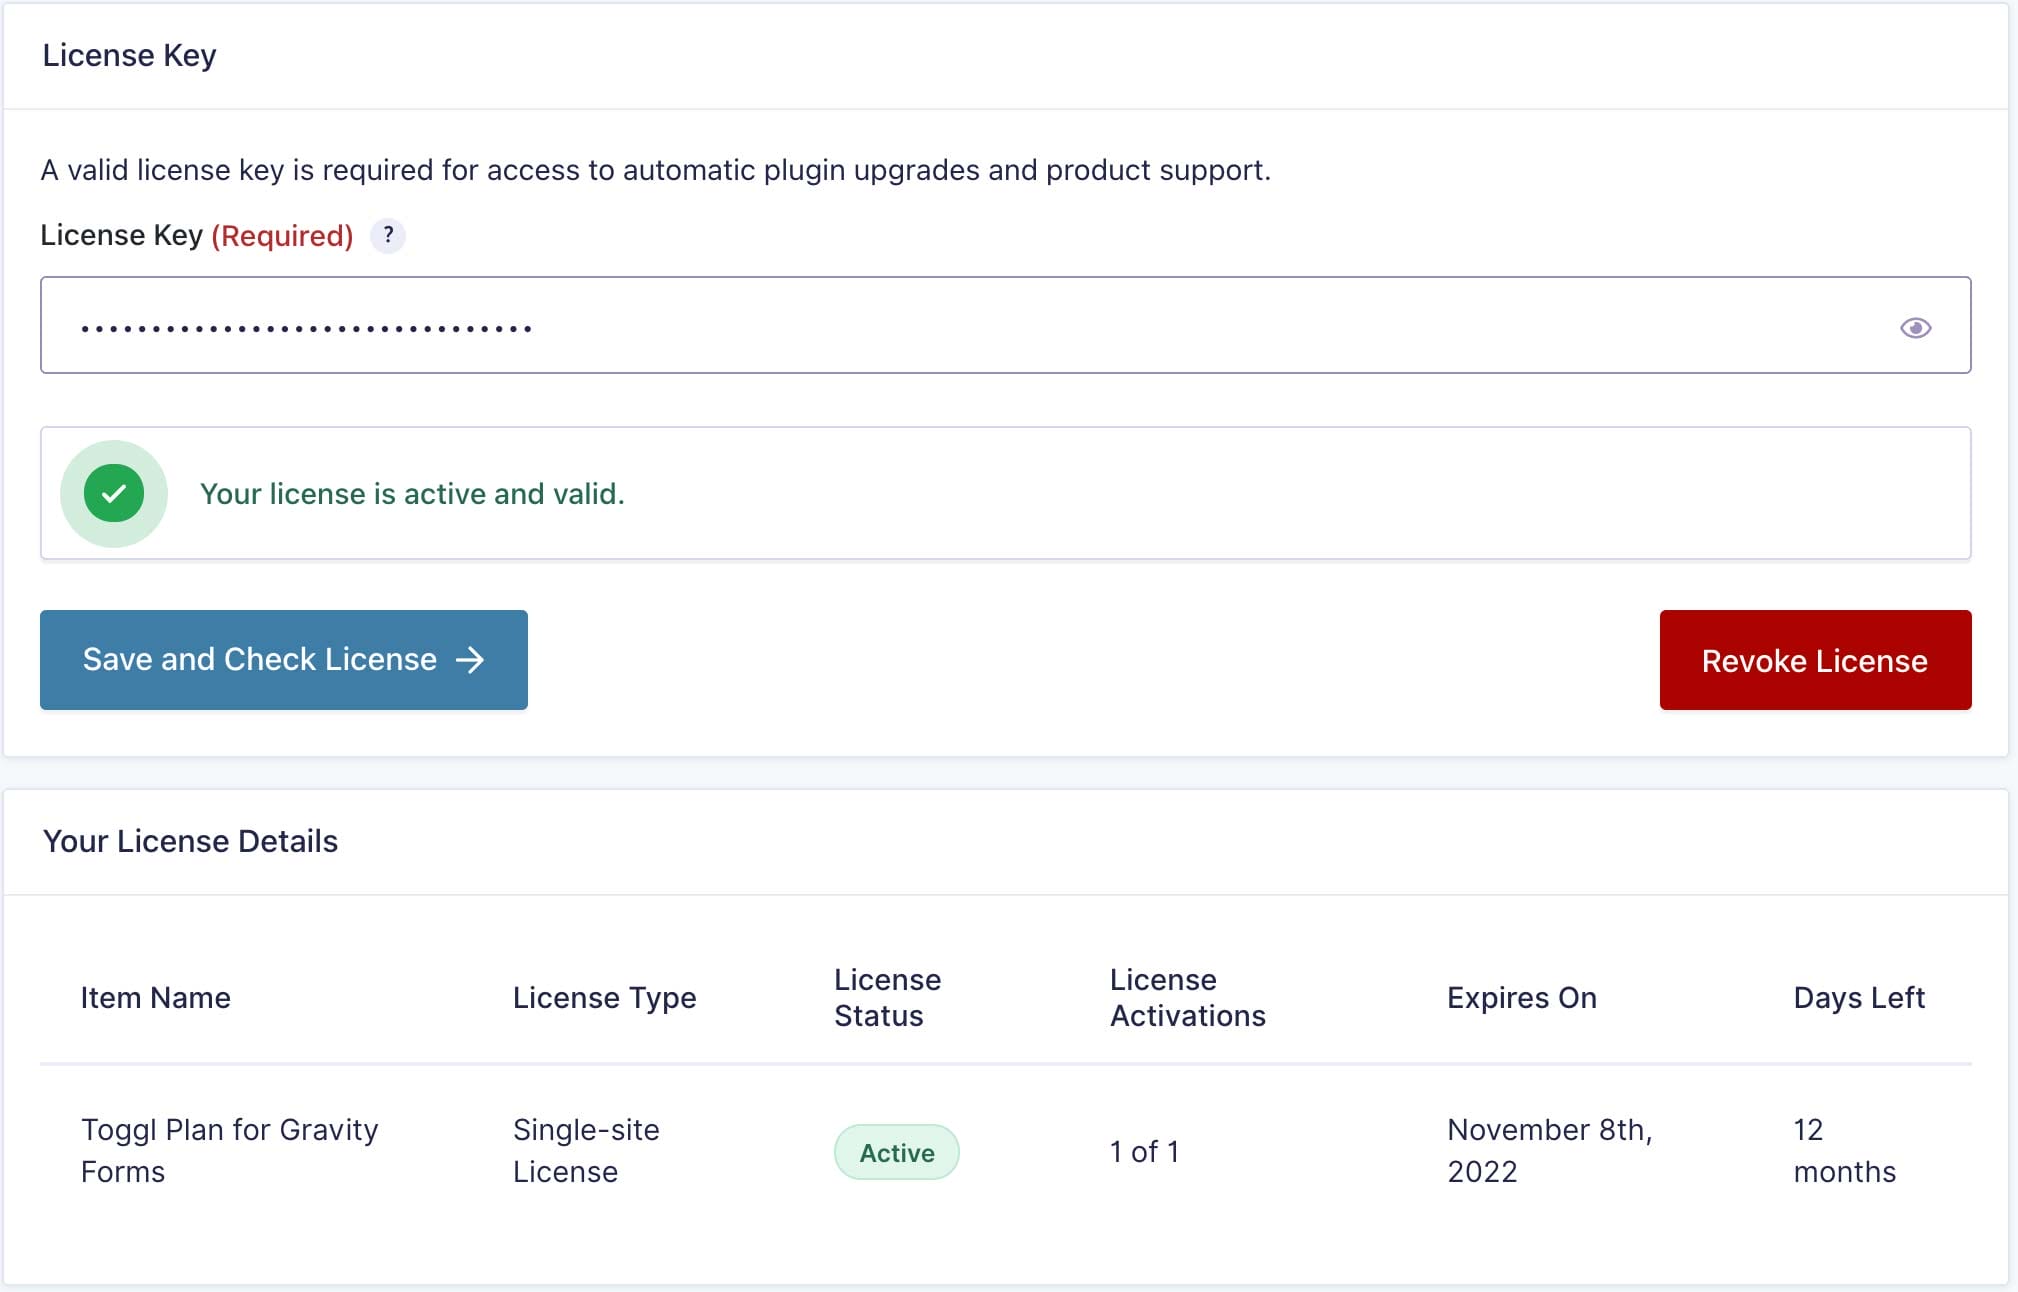
The license area shows convenient stats when you enter it and validation is successful. I chose to show the license area only after a connection is made to Toggl Plan. I didn’t want to confuse the user at the start of the process.
Finally, when all is said and done, you can begin creating a feed for your form.
Creating the Feed for the Form
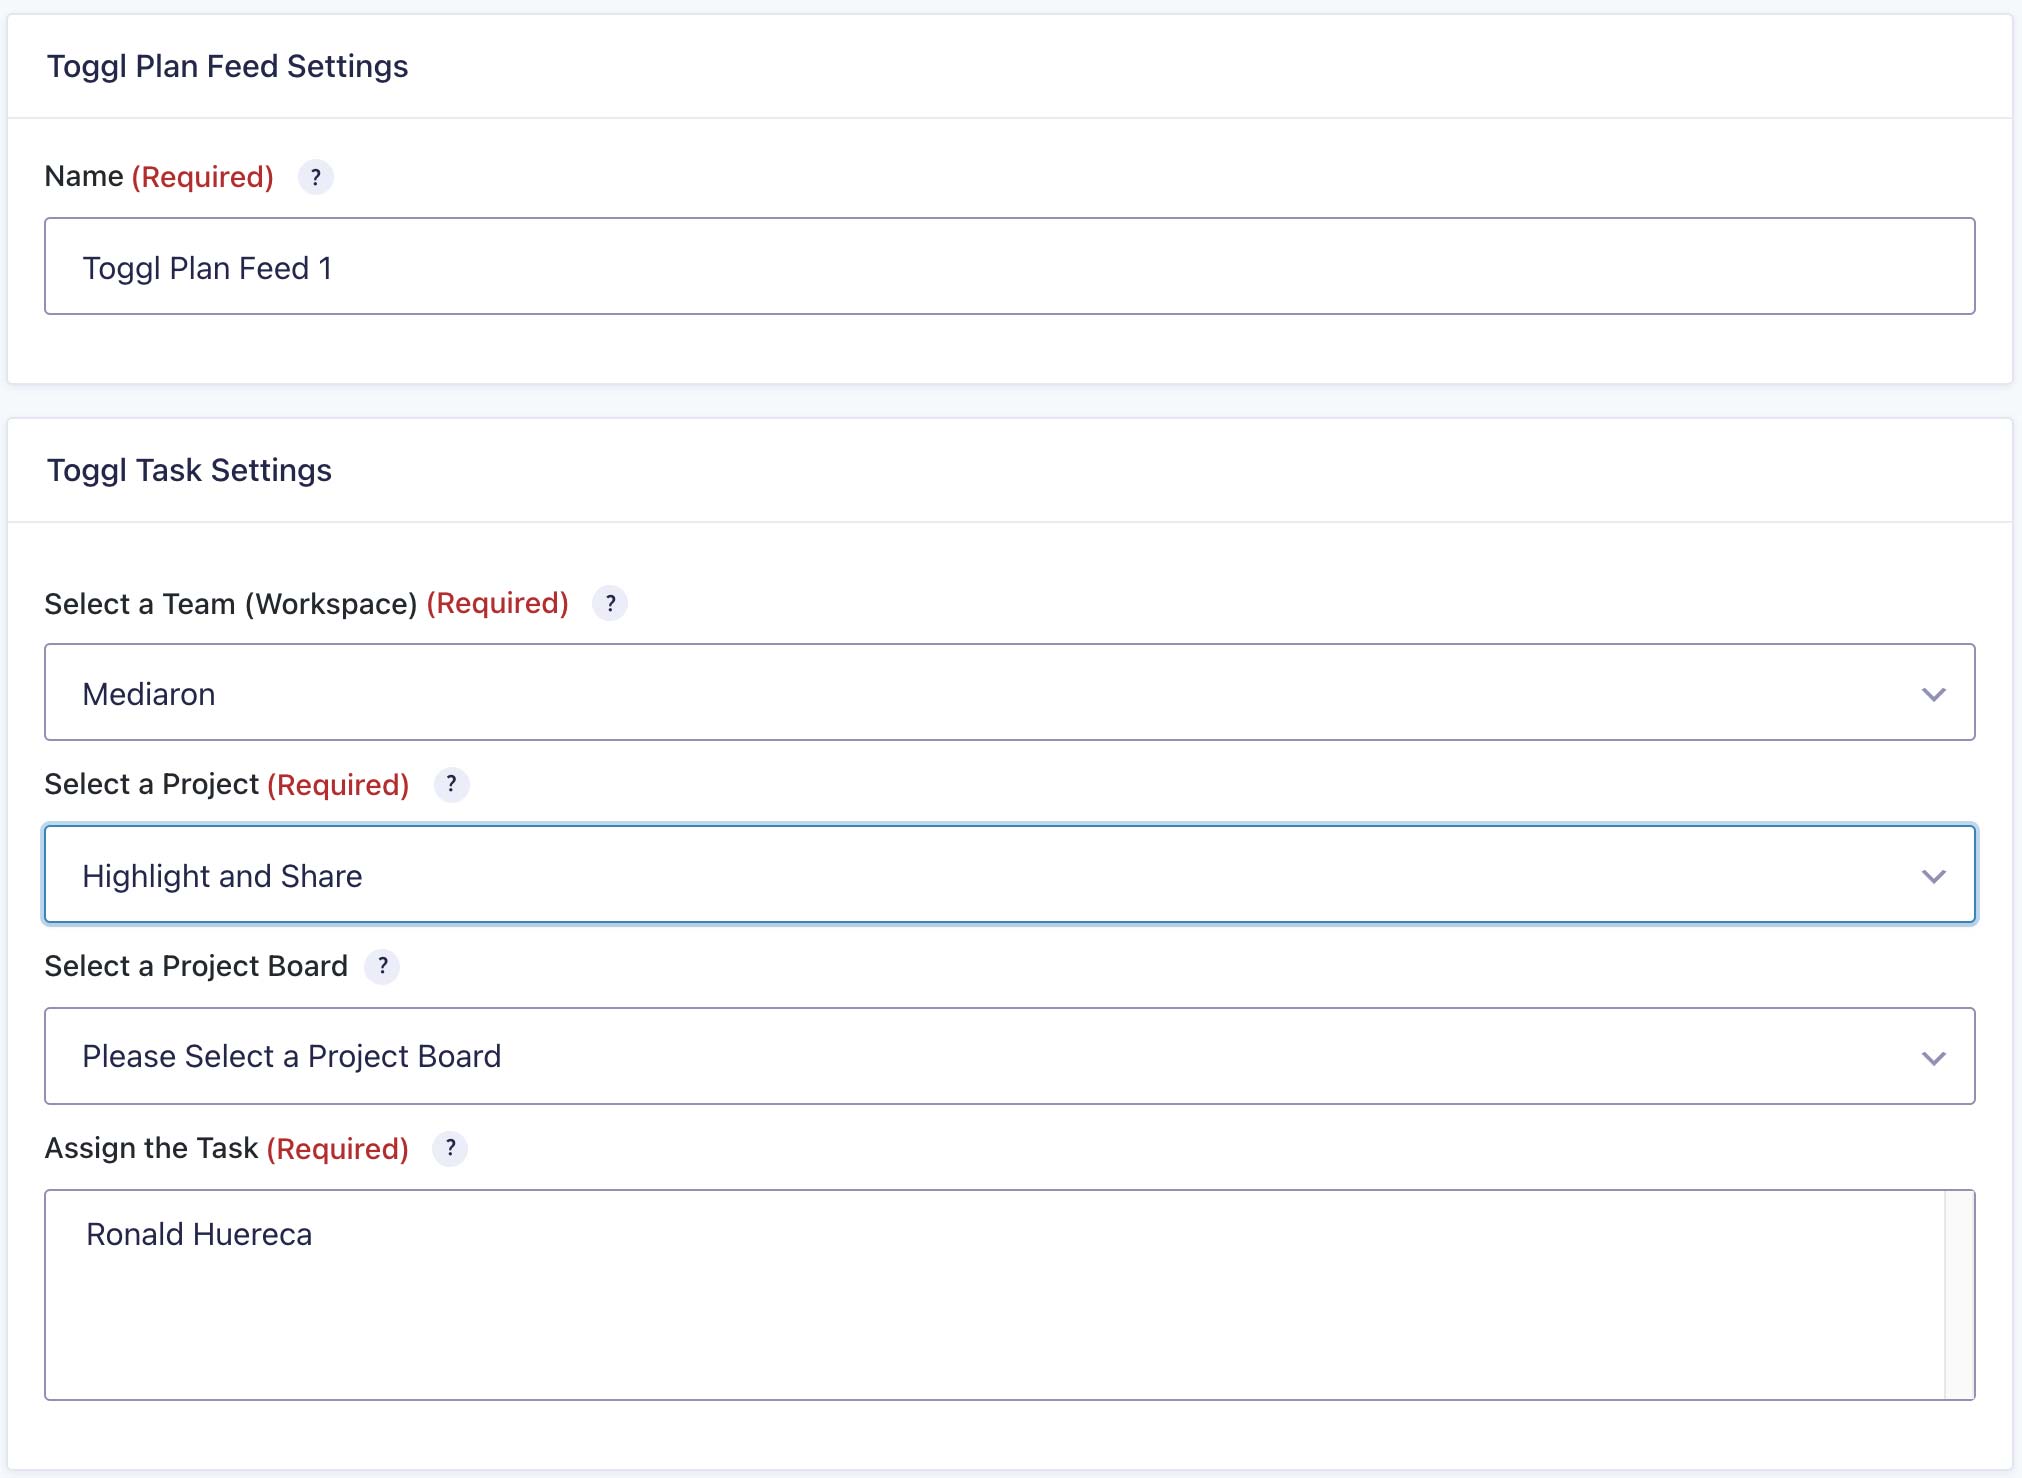
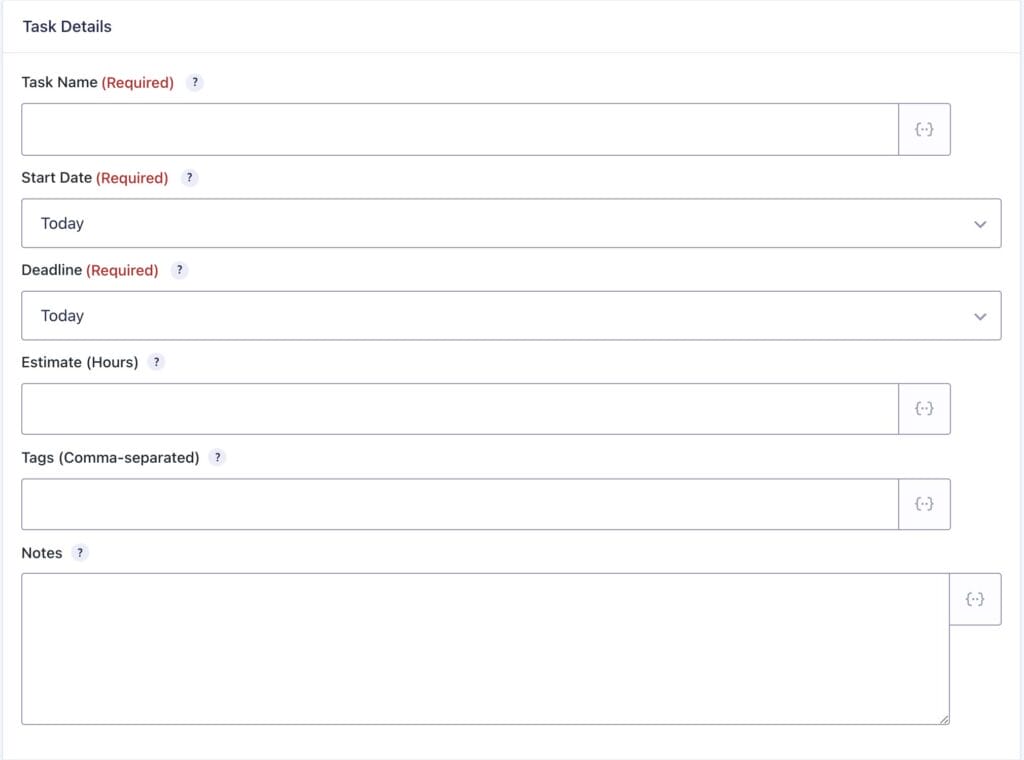
When creating the feed, we need to know the following:
- List of Teams (workspaces)
- List of projects within the team
- List of members on the team (for assigning tasks)
- List of project boards
This allows you to select per workspace a project/assignee/board per feed. You can use conditional logic and use multiple feeds depending on your task creation needs.
What’s Left?
Lots of testing and a beta release. I do plan to charge for this add-on, but I haven’t settled on a price yet. More than likely it’ll be a one-site license as I currently don’t foresee people needing this on multiple sites. We’ll see.
Conclusion
I’m almost done with all the logic for the Gravity Forms add-on. I just need to clean it up and get it ready for release.
I’m hoping to lure some beta testers in with the promise of a flexible multi-site license for the product.
If you’re interested, please leave a comment below or contact me.
Thank you for reading.

